SubversionとRedmineをWindows11にインストール
Windows11にSubversionとRedmineを設定したメモ。
TracLightningが消えてた
3年くらい前にSubversionを使いたくてTracLightningをインストールしましたが、
https://ja.osdn.net/projects/traclight/
↑のTracLightningのサイトにアクセスできなくなっていました。
RedmineとSubversionの環境を構築する
やりたいことは、バージョン管理をWebでシンプルに見たいだけです。簡単にインストールするツールをググりましたがありませんでした。
以下のページを参考に環境を作成しました。
https://lychee.techmatrix.jp/windows-redmine-mysql-install/
https://enjoy-tech.net/44236/
会社のWindows11 pro 23H2のデスクトップPCで構築しました。
Windows Defender ファイアウォール設定
Windows Defender ファイアウォール設定はすべてオフ。
VisualSVN Serverのインストール
VisualSVN ServerはSubversion準拠のバージョン管理システム製品です。
機能限定ですが15Userまで無料で利用可能です。
VisualSVN Server5.3.1(64-bit)のインストーラーをダウンロード
公式サイトからダウンロード。
https://www.visualsvn.com/server/download/
ダウンロードしたVisualSVN-Server-5.3.1-x64.msiを実行。
Apatch HTTP Server 2.4.58
Apatch Subversion 1.14.2
Nextをクリック。
Nextをクリック。
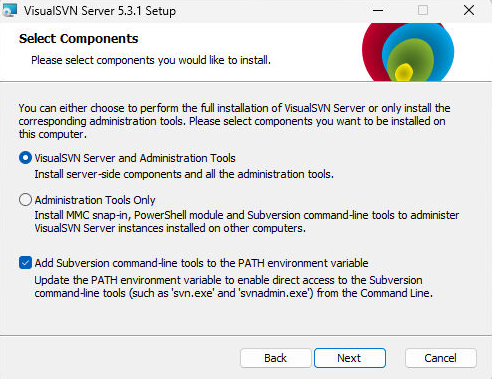
Nextをクリック。
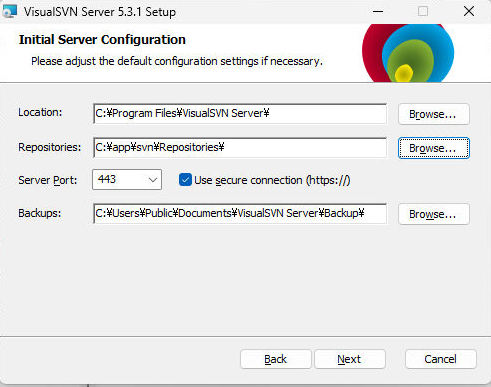
Nextをクリック。
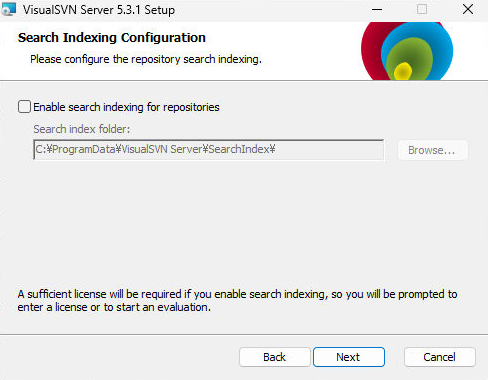
Nextをクリック。
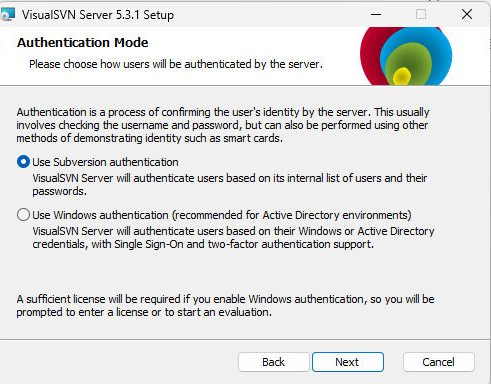
Nextをクリック。
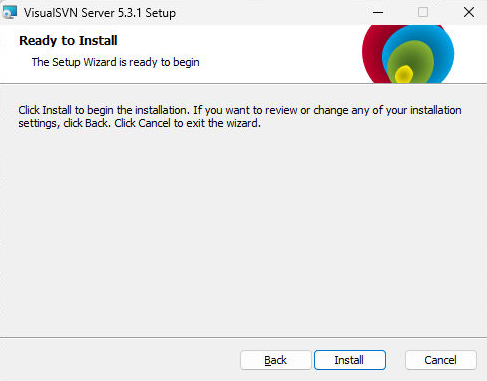
Installをクリック。
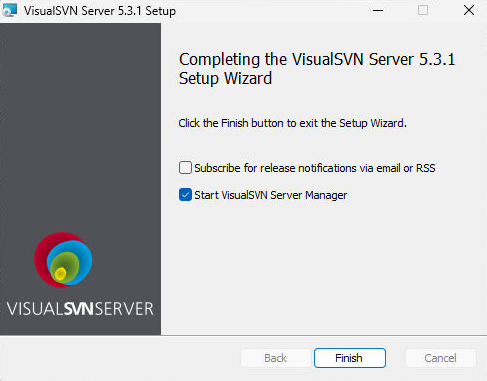
Finishをクリック。
VisualSVN Server Manager
インストールが完了後に起動します。操作(A) > Properties から各構成を設定できます。
ネットワークの構成定義
デフォルト
ユーザー認証の構成定義
ローカルテストのため緩く設定

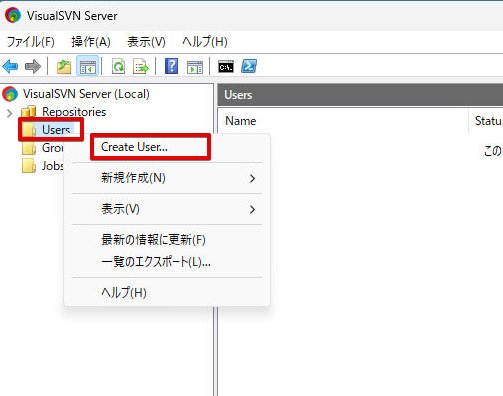
ユーザー作成
Users > Create Userをクリック。
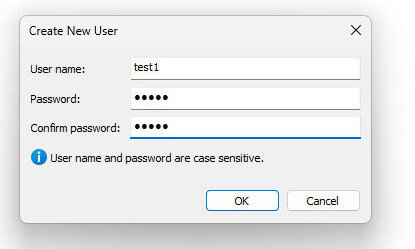
User nameとPasswordを入力してOKをクリック。
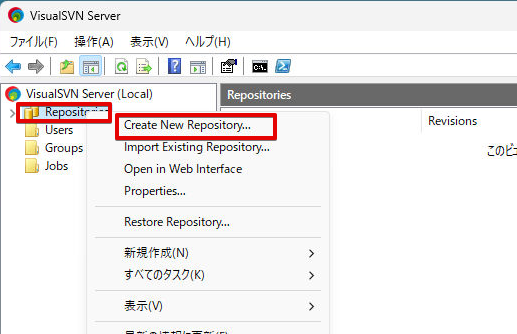
レポジトリ作成
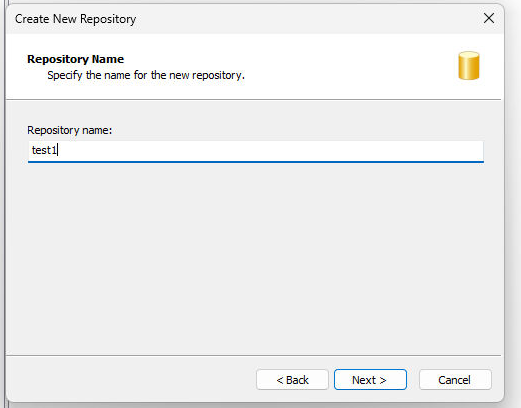
Repositories > Create New Repository をクリック。
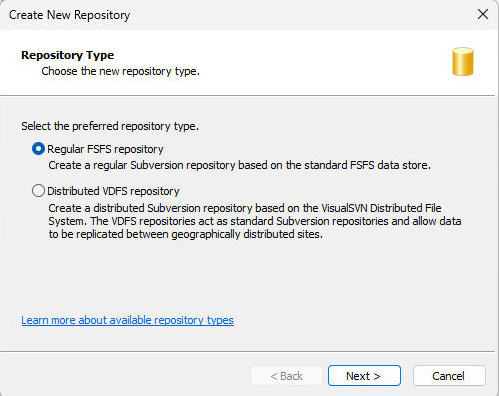
Nextをクリック。
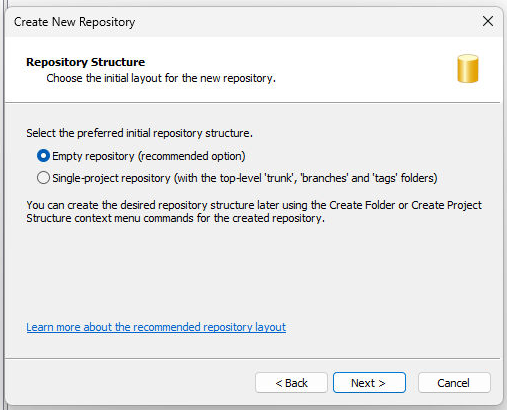
Nextをクリック。
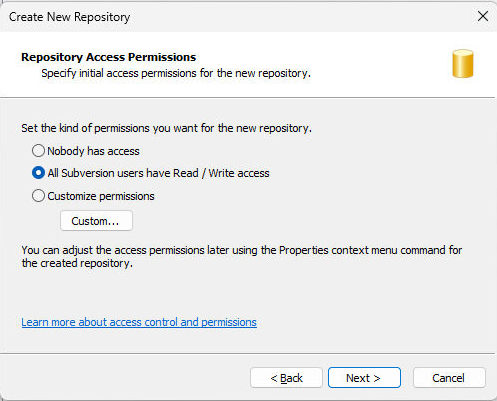
Nextをクリック。
Nextをクリック。
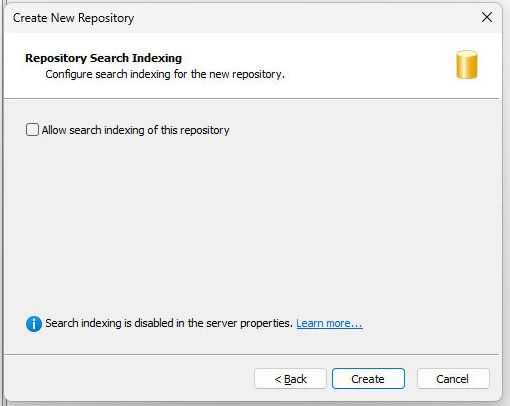
チェックを外してCreateをクリック。
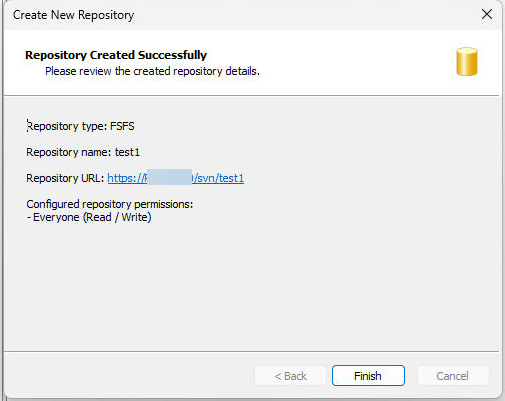
Finishをクリック。
TortoiseSVNのインストール
TortoiseSVNはSubversionのWindowsクライアントソフトウェアです。VisualSVNをSubversionサーバー、TortoiseSVNをSubversionクライアントとして利用します。
TortoiseSVN 1.14.5(64-bit)のインストーラーをダウンロード
公式サイトからダウンロード。
https://tortoisesvn.net
ダウンロードしたTortoiseSVN-1.14.5.29465-x64-svn-1.14.2.msiを実行。
Nextをクリック。

Nextをクリック。
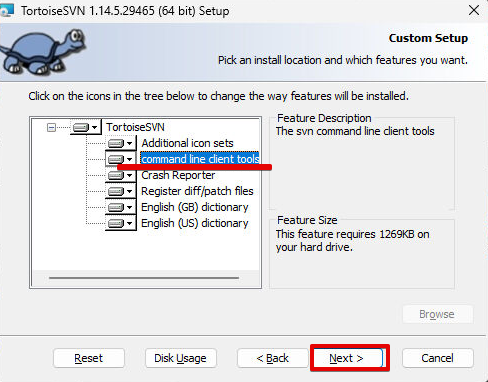
command line client toolsも選択してNextをクリック。
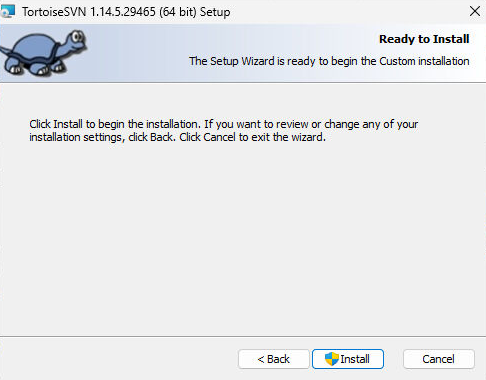
Installをクリック。
Finishをクリック。
日本語言語パックのインストール
64ビット用 Japanese 用の Setup リンクをクリックして TortoiseSVN の日本語パックをダウンロードします。
ダウンロードしたLanguagePack_1.14.5.29465-x64-ja.msiを実行。
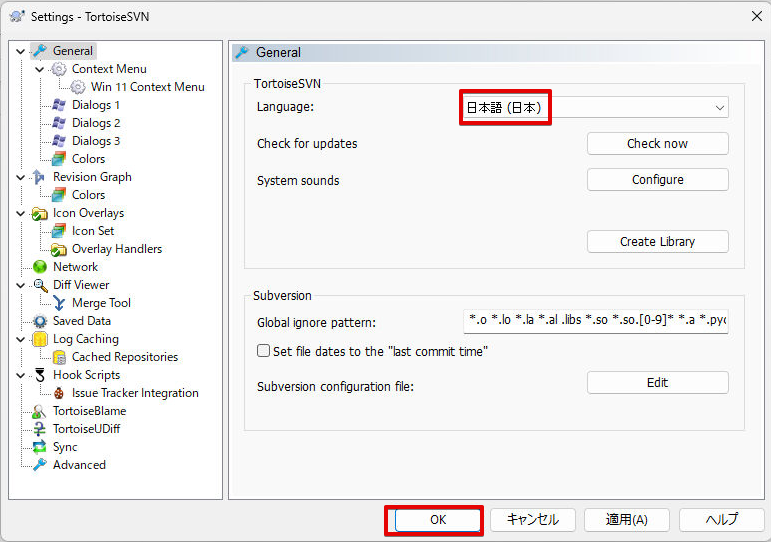
インストール後、設定画面から日本語を選択
ローカルにチェックアウトする
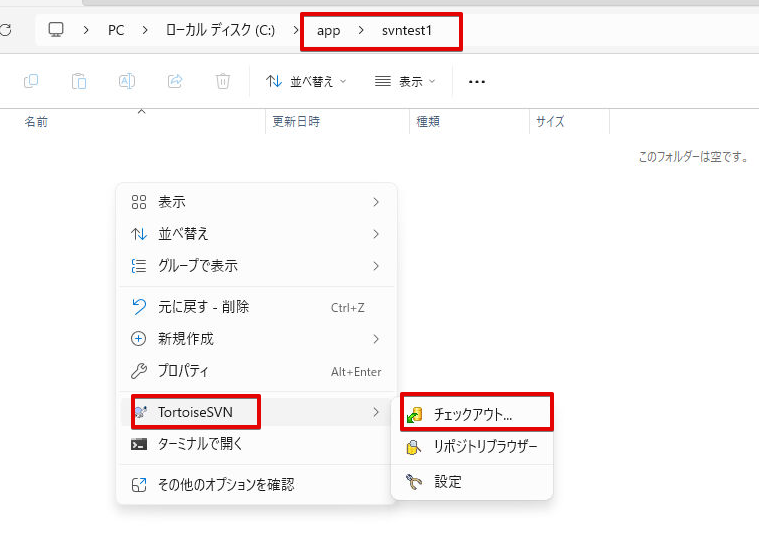
C:\app\svntest1フォルダを作成
右クリック > その他のオプションを確認 > TortoiseSVN > チェックアウト をクリック
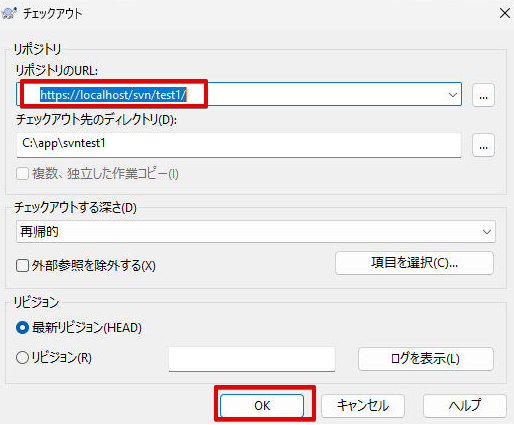
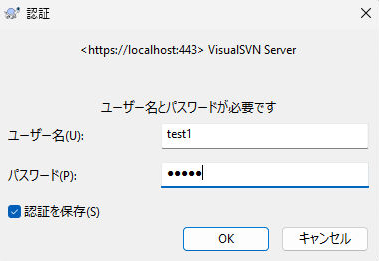
OKをクリック
ホスト名ではなくlocalhostでアクセスしたらエラーが表示
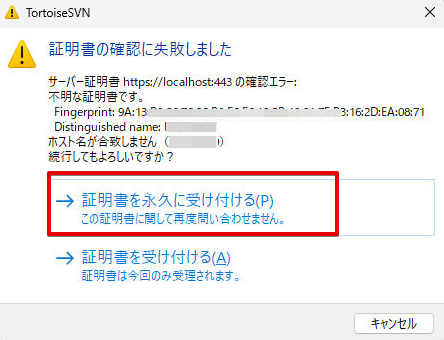
OKをクリック
はじめてのコミット
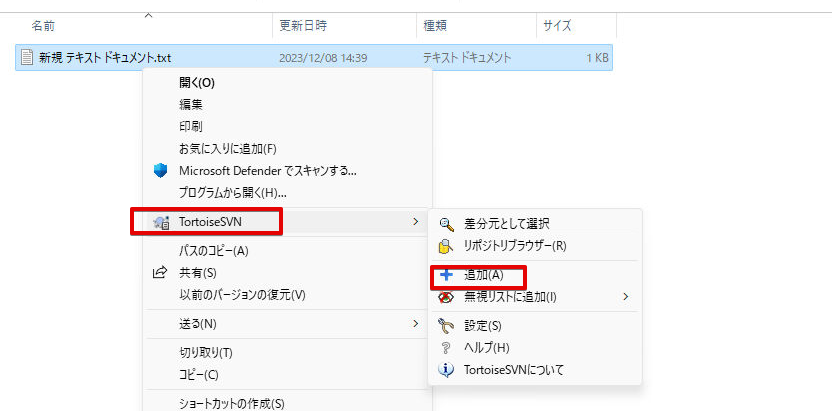
新規テキストドキュメント.txtを作成
追加する (svn add)
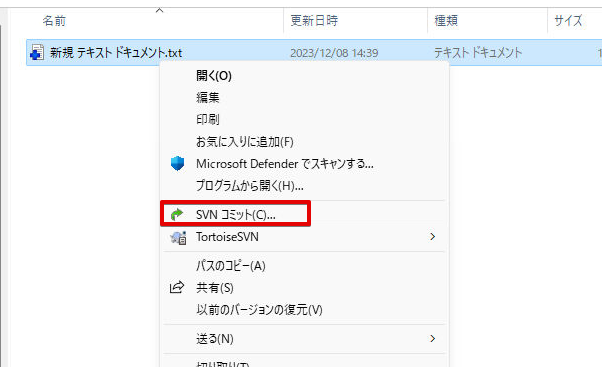
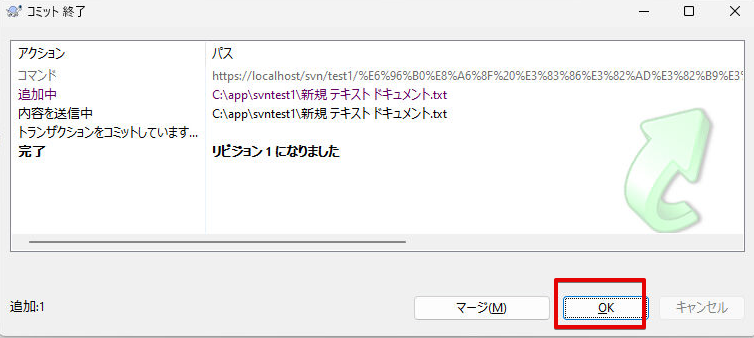
コミットする(svn commit)

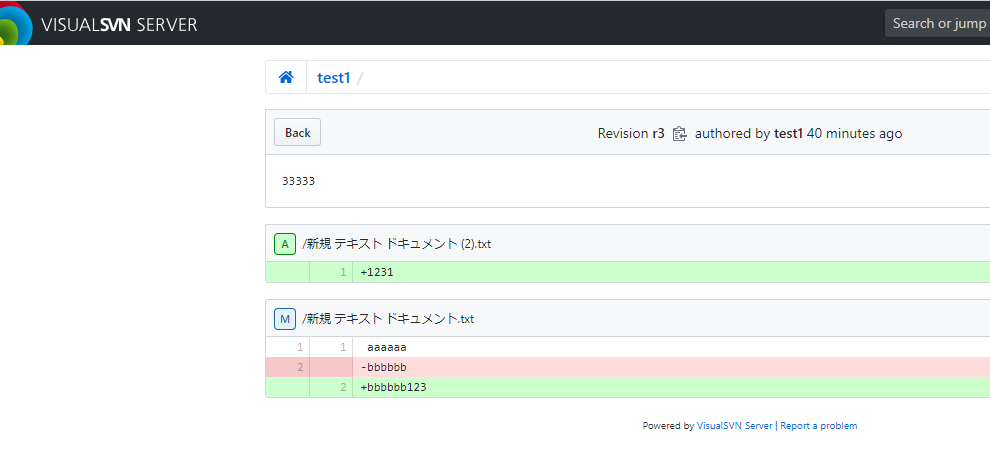
VisualSVNを初めて利用しましたがweb上で差分の確認もできました。
Redmineは不要かもですが、テストで次回インストールします。
以上です。